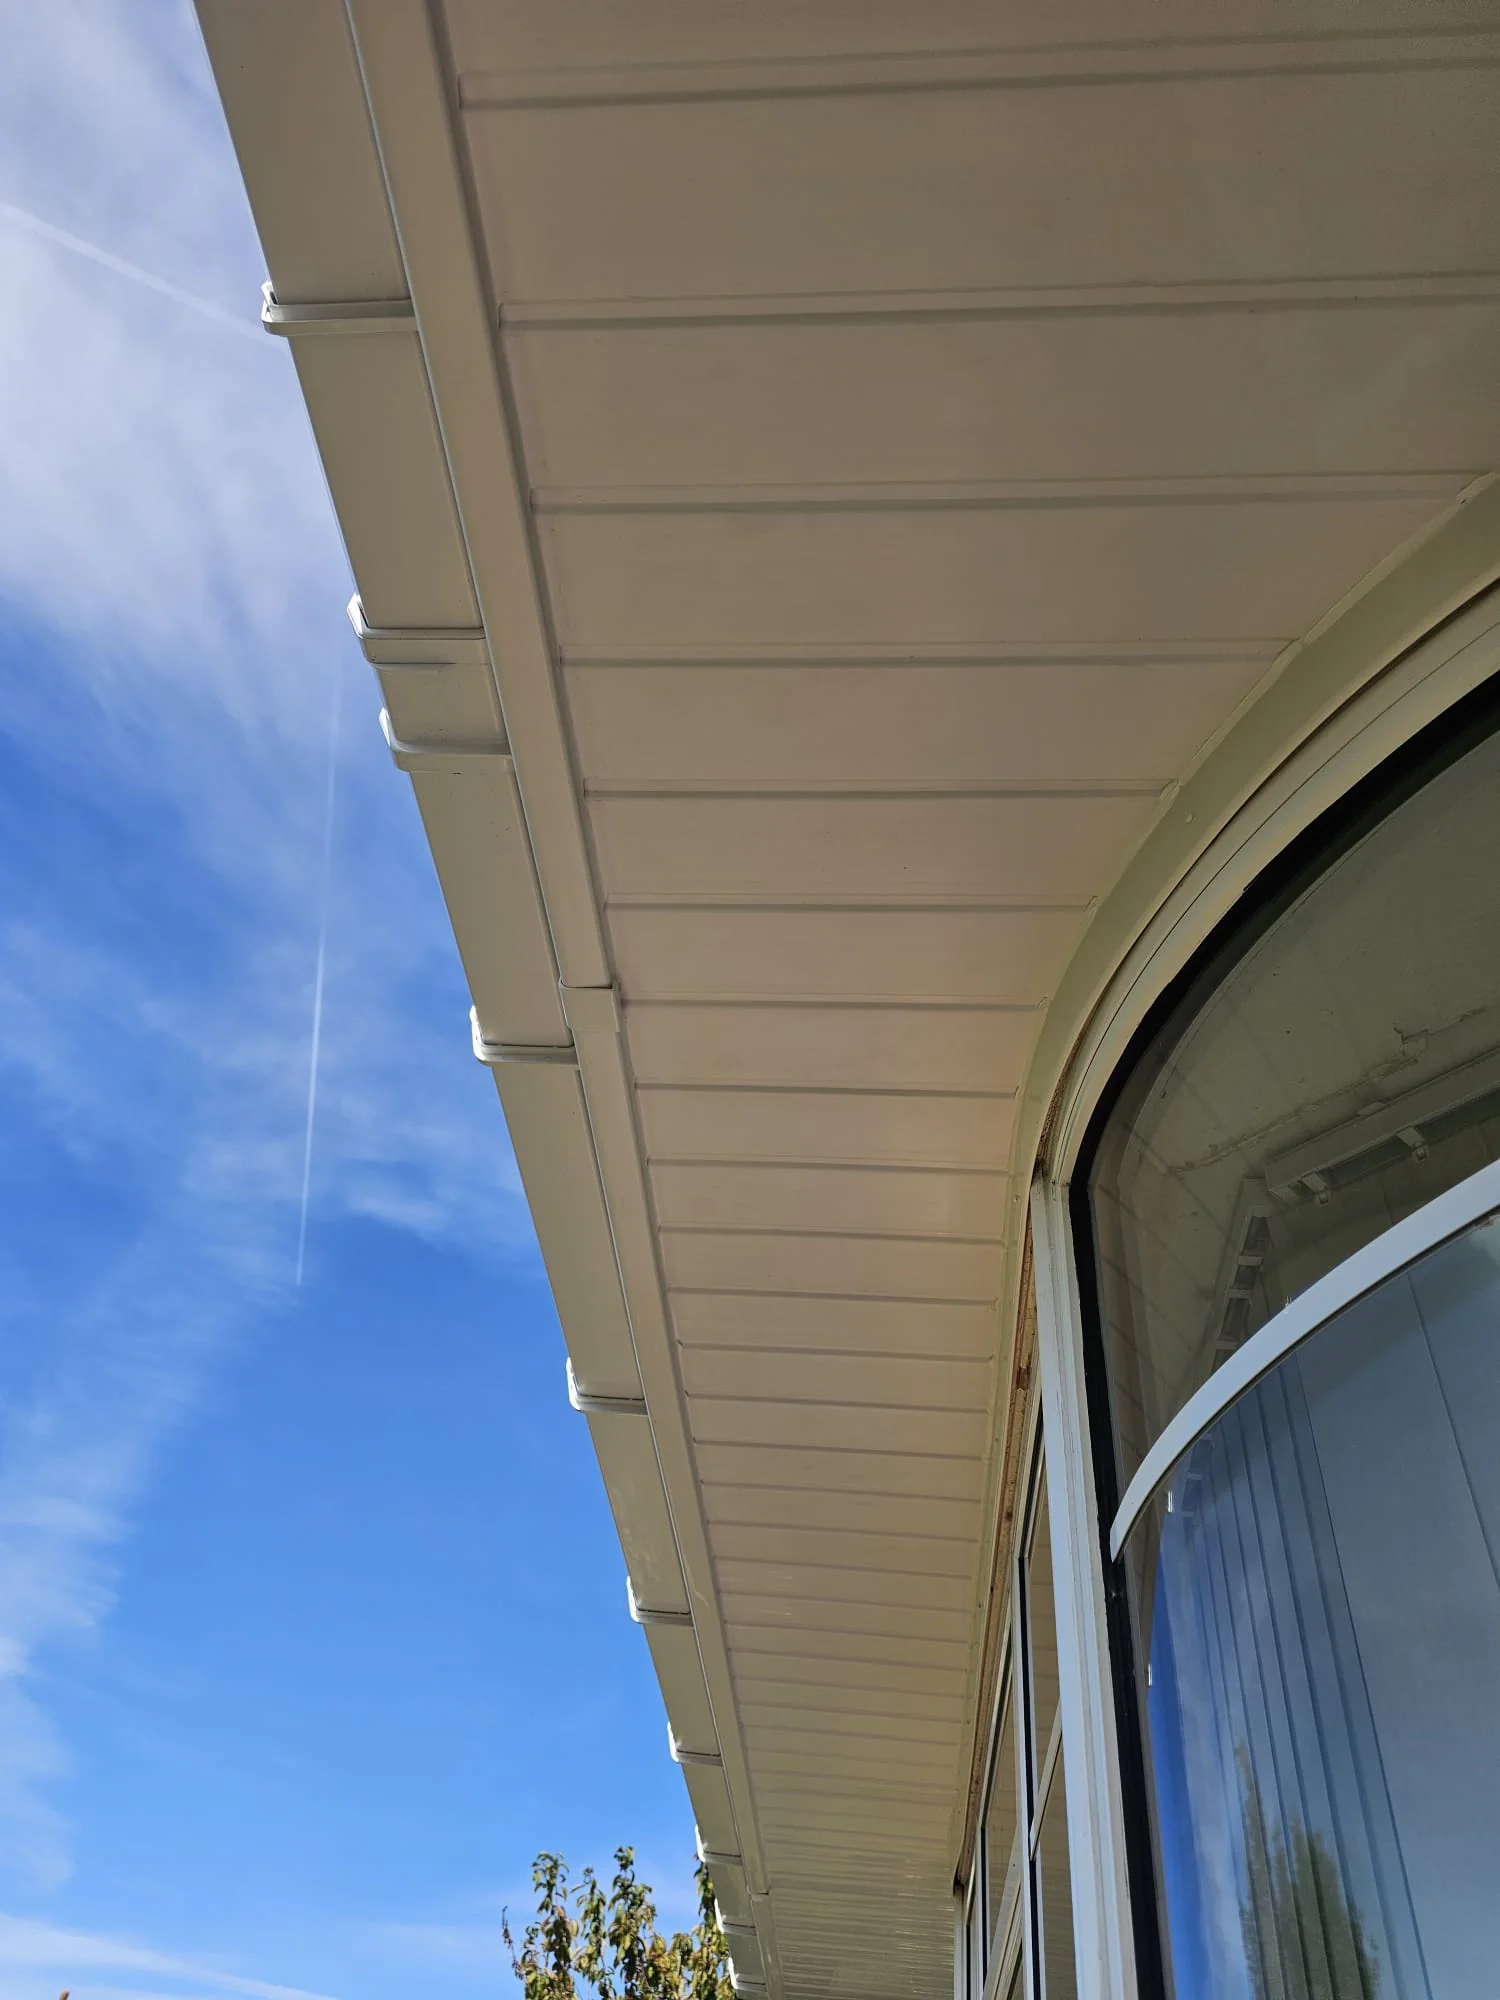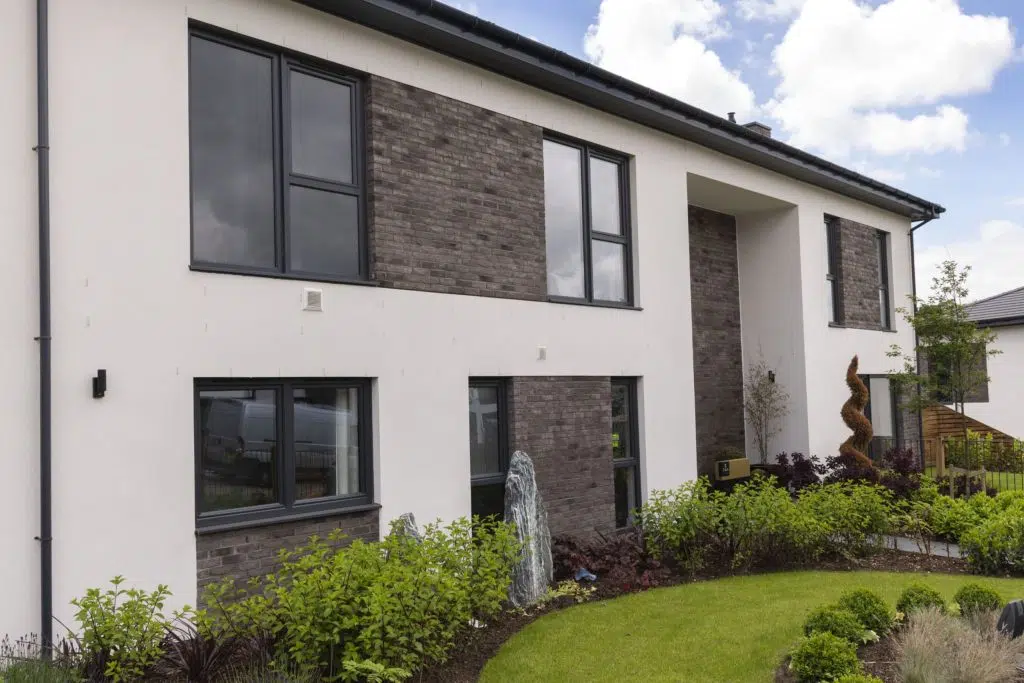
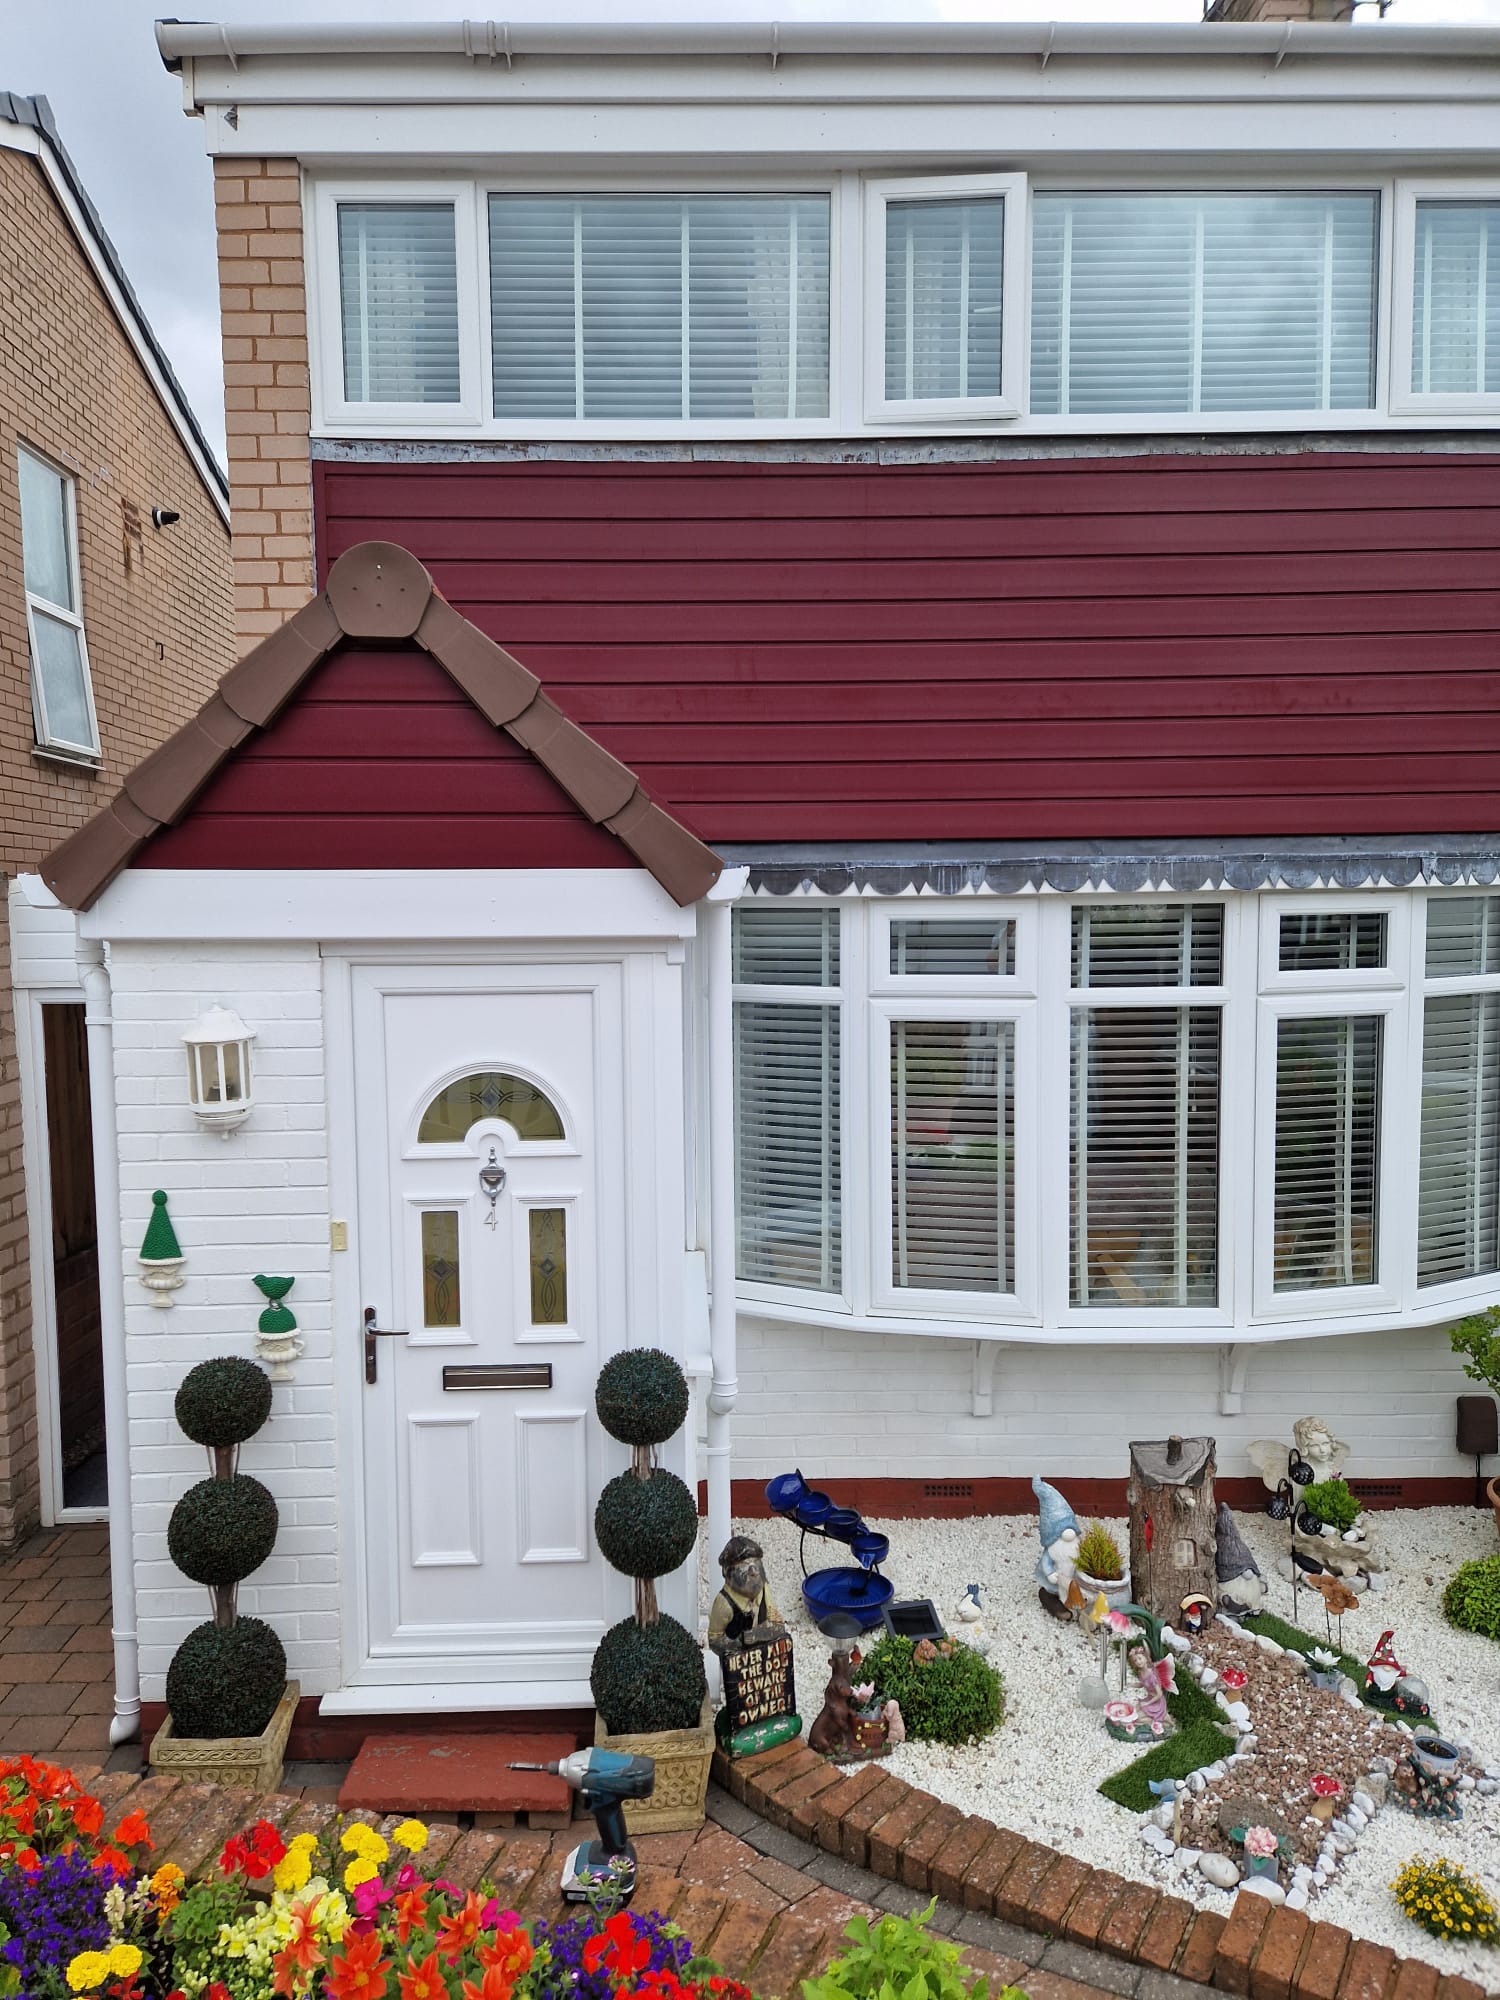
Ask for the complete build-up, not only the board colour. Substrate, battens, membranes, ventilation, insulation, trims and junctions determine how the cladding is installed.
At a glance
Common exterior cladding materials compared
This is a general comparison of material families, not a list of products supplied by Prime. Suitability depends on the building and complete wall design.
| Consideration | uPVC | Fibre cement | Timber | Composite | Metal |
|---|---|---|---|---|---|
| Visual character | Clean boards in a wide choice of profiles and colours. | Crisp boards that can imitate painted timber or create a modern finish. | Natural grain with a character that changes as it weathers or is refinished. | Appearance varies widely by formulation and profile. | Sharp joints and a distinctly contemporary finish. |
| Routine care | Usually washing and inspection of joints and trims. | Usually low routine care, following the maker's cleaning guidance. | May need periodic coating or acceptance of natural weathering. | Depends on the surface finish and manufacturer's system. | Coating, cut edges, fixings and corrosion risks need appropriate detailing. |
| Key design check | Expansion, ventilation, support centres and trim compatibility. | Board weight, cutting, support, fixings and dust controls. | Moisture movement, treatment, ventilation and fixing choice. | Fire, movement and weathering evidence for the exact product. | Thermal movement, corrosion compatibility, backing and specialist detailing. |
Define the problem the new cladding must solve
Separate appearance, maintenance and building-performance goals at the outset. Replacing cracked or faded boards is a different project from covering damaged render, adding external insulation or redesigning a whole elevation. If water penetration, mould or movement has prompted the work, diagnose that defect before choosing a colour.
Identify the area precisely. A dormer cheek, gable, bay and complete upper storey have different exposure, access and junctions. Decide whether adjacent fascia, soffit, windows or gutters will remain. A new surface can draw attention to tired surrounding details, while replacing several elements together requires their interfaces to be designed as one project.
Inspect what will sit behind the boards
Cladding is not intended to make an unstable or persistently damp wall disappear. The substrate must provide the support required by the selected system. Loose render, rotten battens, corroded fixings, leaking gutters and failed window seals should be identified before they are concealed. Staining may require investigation higher up the elevation.
Ask how the installer will assess hidden areas once the existing covering is removed. The quotation should explain what preliminary work is included and how unforeseen repairs will be priced and authorised. Photographs before covering can create a useful record of membranes, battens, insulation and repaired areas without disrupting the finished system later.
Compare materials by priorities, not appearance alone
uPVC cladding is available in different profiles, colours and textures and is commonly chosen where low routine maintenance is important. Fibre-cement boards can create crisp horizontal or vertical lines and have their own cutting, support and finishing requirements. Timber offers natural variation and can weather attractively, but species, treatment, coating and maintenance expectations need careful discussion.
Composite and metal products add more options, but constructions vary. Compare documented requirements for the exact product and location, including maintenance, exposure and compatible trims. The material name alone says too little.
- Expected cleaning and maintenance
- Finish, profile and colour stability
- Weight and support requirements
- Treatment of cuts and exposed edges
- Reaction-to-fire classification for the application
- Availability of matching trims and replacements
Understand the complete wall build-up
The visible board is one layer. A typical proposal may also involve a supporting wall, membrane, treated battens or rails, ventilation cavity, insulation, insect mesh, starter profiles, corner trims and flashings. The arrangement depends on the wall and system, so a generic diagram should not replace a project-specific section.
Moisture needs a safe route to drain and dry. Ventilation openings, cavity barriers and details around windows, pipes and roofs should follow the compatible system design.
Treat insulation and fire performance as design matters
If insulation is included, establish the type, thickness, continuity and treatment around openings and at roof or floor edges. Adding cladding can trigger Building Regulations considerations, particularly when a thermal element is renovated. The appropriate performance and approval route depend on the existing wall and scope, so obtain project-specific confirmation; a board brochure alone is insufficient.
Fire performance relates to the complete external wall construction, not only the face of one board. Building height, use, boundaries, cavities, insulation, membranes and barriers can affect what is required. The designer or installer should identify the classification and evidence relevant to the proposed build-up and location. Higher-risk or unusual buildings require suitably competent professional input.
Use board direction and joints deliberately
Horizontal boards can emphasise width and suit familiar weatherboard detailing. Vertical boards can make a narrow area feel taller or create a more contemporary rhythm. The practical support and ventilation arrangement may differ, so orientation is not merely a styling switch.
Draw the actual elevation with windows, corners and changes of material. Short leftover pieces, uneven end cuts or trims that collide with window heads can make an otherwise attractive product look improvised. Agree where full boards begin, how joints align and whether battens or trims create a visible shadow line. On a dormer or gable, the shape of the area may favour a different layout from the sample photograph.
Choose colour at elevation scale
Cladding covers a broad continuous area, so a colour often appears stronger on the house than on a hand sample. View physical samples beside brick, render, roof tiles, frames and rainwater goods in natural light. Check both sunny and shaded elevations because texture and undertone change with orientation.
Choose whether to blend or contrast, then record the exact range, profile, colour and texture. Later batches and weathered boards may not match perfectly if work is phased.
Resolve edges, services and access
Every opening and edge needs a finish. Establish how cladding meets window sills, door heads, corners, soffits, masonry and the ground. Maintain required clearances and do not allow the new build-up to obstruct drainage paths, air bricks or weep holes. Meter boxes, boiler flues, external taps and vents may require specialist coordination; simply cutting a close hole around them can create problems.
Clarify how lights, cables and downpipes are supported, plus who provides safe access and protects glazing, roofs or planting below the work.
Check restrictions and future maintenance
A significant change in external appearance can require planning consideration, and controls may be stricter for listed buildings, conservation areas or properties affected by planning conditions. Leasehold terms and covenants may also be relevant. The position is specific to the property and proposal, so check with the appropriate authority or adviser before ordering.
Make the quotation describe the complete system
A useful quotation identifies the included elevations, removal work, substrate repairs, support system, membrane, ventilation, insulation, boards, trims and fixings. It should state how windows, roofline and penetrations will be detailed and whether scaffolding, waste and refitting services are included.
Confirm responsibility for any planning or Building Regulations checks and the documents supplied at completion. Compare proposals on the whole build-up, not just a price per square metre.
- Exact elevations and measured area
- Removal and substrate preparation
- Battens, membrane and ventilation
- Insulation and fire-performance evidence
- Board profile, orientation and colour
- Trims, openings and service penetrations
- Access, waste and documentation
Common questions
Frequently asked questions
Can cladding be installed over cracked render?
Only after the cause and stability have been assessed. Loose material, moisture or movement should not be hidden, and the support system needs a suitable substrate.
Does exterior cladding improve insulation?
Cladding is mainly an outer finish. Insulation can form part of a designed build-up, but its type, continuity, moisture control and regulatory requirements must suit the wall.
Is horizontal or vertical cladding better?
Neither is universally better. Elevation shape, support, ventilation and system instructions matter. Draw both options around real windows and corners before choosing.
Will new cladding require planning permission?
It depends on the property, location and visual change. Listed buildings, conservation areas, planning conditions and lease restrictions need particular attention.
Guidance checked
Sources and further guidance
These sources were reviewed on 15 September 2026. Requirements can vary by property and project, so obtain project-specific advice before committing to work.
Talk it through
Advice is most useful when it is applied to the property
Prime can assess the opening, explain suitable options and provide a written quotation without pressure to make an immediate decision.